Seasonal Gardening Guides
Stay informed with our easy-to-follow seasonal guides that cover the best planting practices, soil preparation, and maintenance for each time of year. Get practical advice on what to plant, when to water, and how to keep your garden flourishing in Australia’s unique climate.

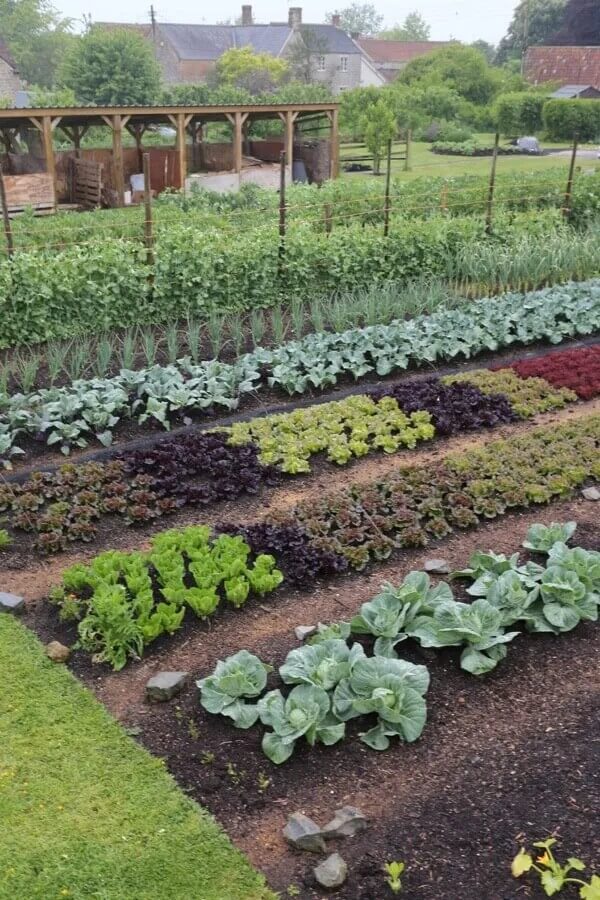
Personalized Garden Planning
Whether you’re planting a vegetable patch or designing a lush garden, our personalized garden planning service can help. Our team provides layout ideas, plant selection tips, and irrigation solutions tailored to your space, climate, and gardening goals.

Workshops & Tutorials
Dive into hands-on learning with our range of workshops and video tutorials. From composting basics to advanced plant propagation techniques, we have something for everyone. Our workshops are both in-person and virtual, so you can participate from anywhere!


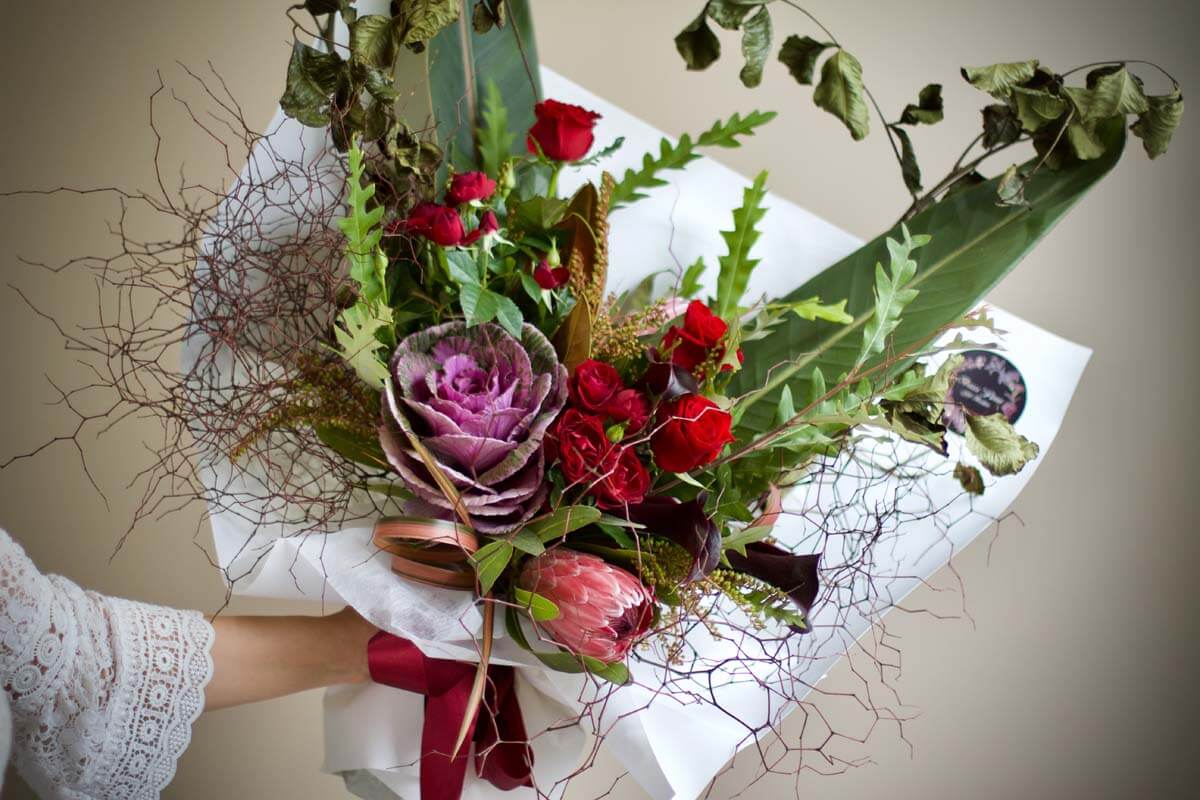
Sweet Valentine’s Hampers for Your Special Someone This Year

Soy Wax 464: The Ideal Choice for Eco-Friendly Candles

Same Day Flower Delivery in Sydney: How to Get Fresh Flowers Delivered Quickly

Luxury Candle Jars Wholesale: Elevate Your Candle Creations

How to Select the Perfect Wedding Flowers for Your Big Day
Florist Castlecrag: Fresh Arrangements for Every Style

Finding Reliable Candle Wax Suppliers for Your Business
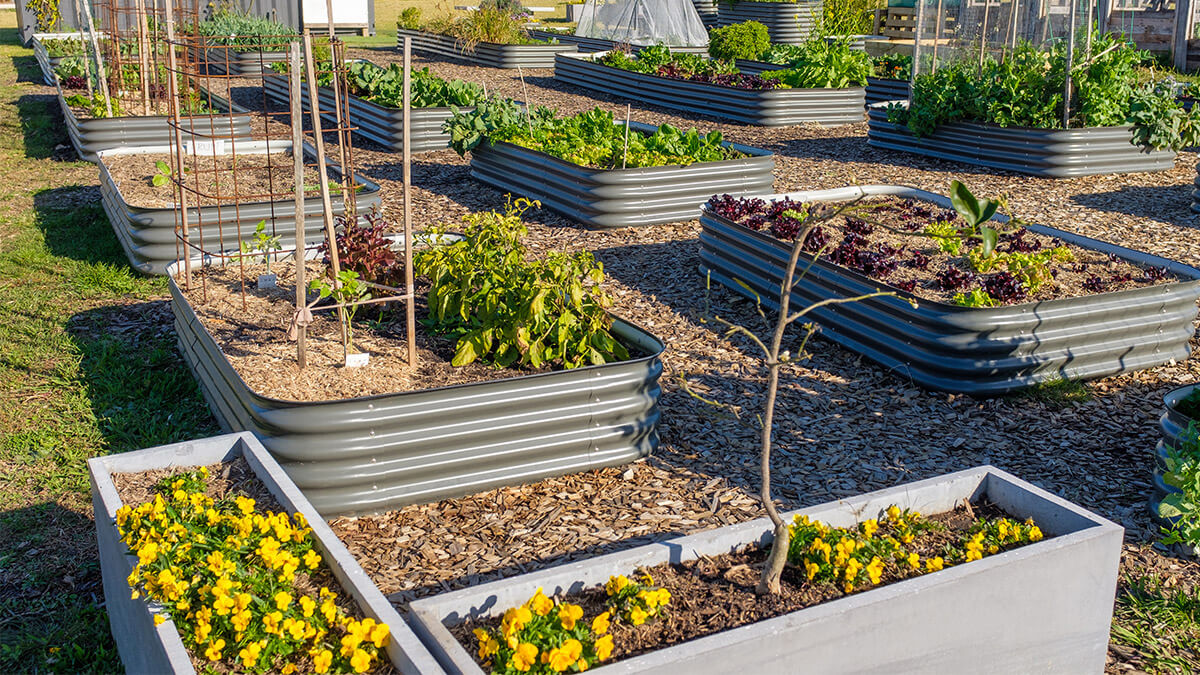
Community Gardening: A (Good) Chicago Idea

Chatswood Florists: Sending Beautiful Bouquets to Your Loved Ones